
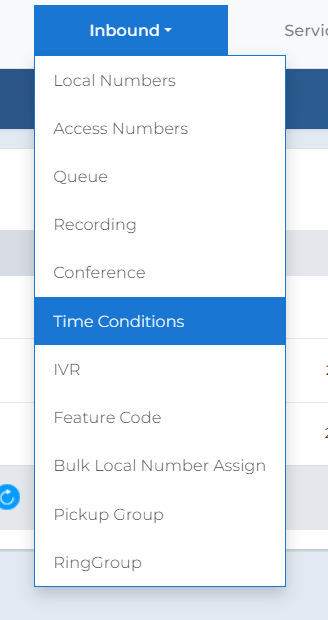
Time Conditions allow you to route incoming calls based on schedules, such as working hours, weekends, or holidays. Step 1: Navigate to Time ConditionsFrom the top menu, go to Inbound → Time Conditions. |
 |
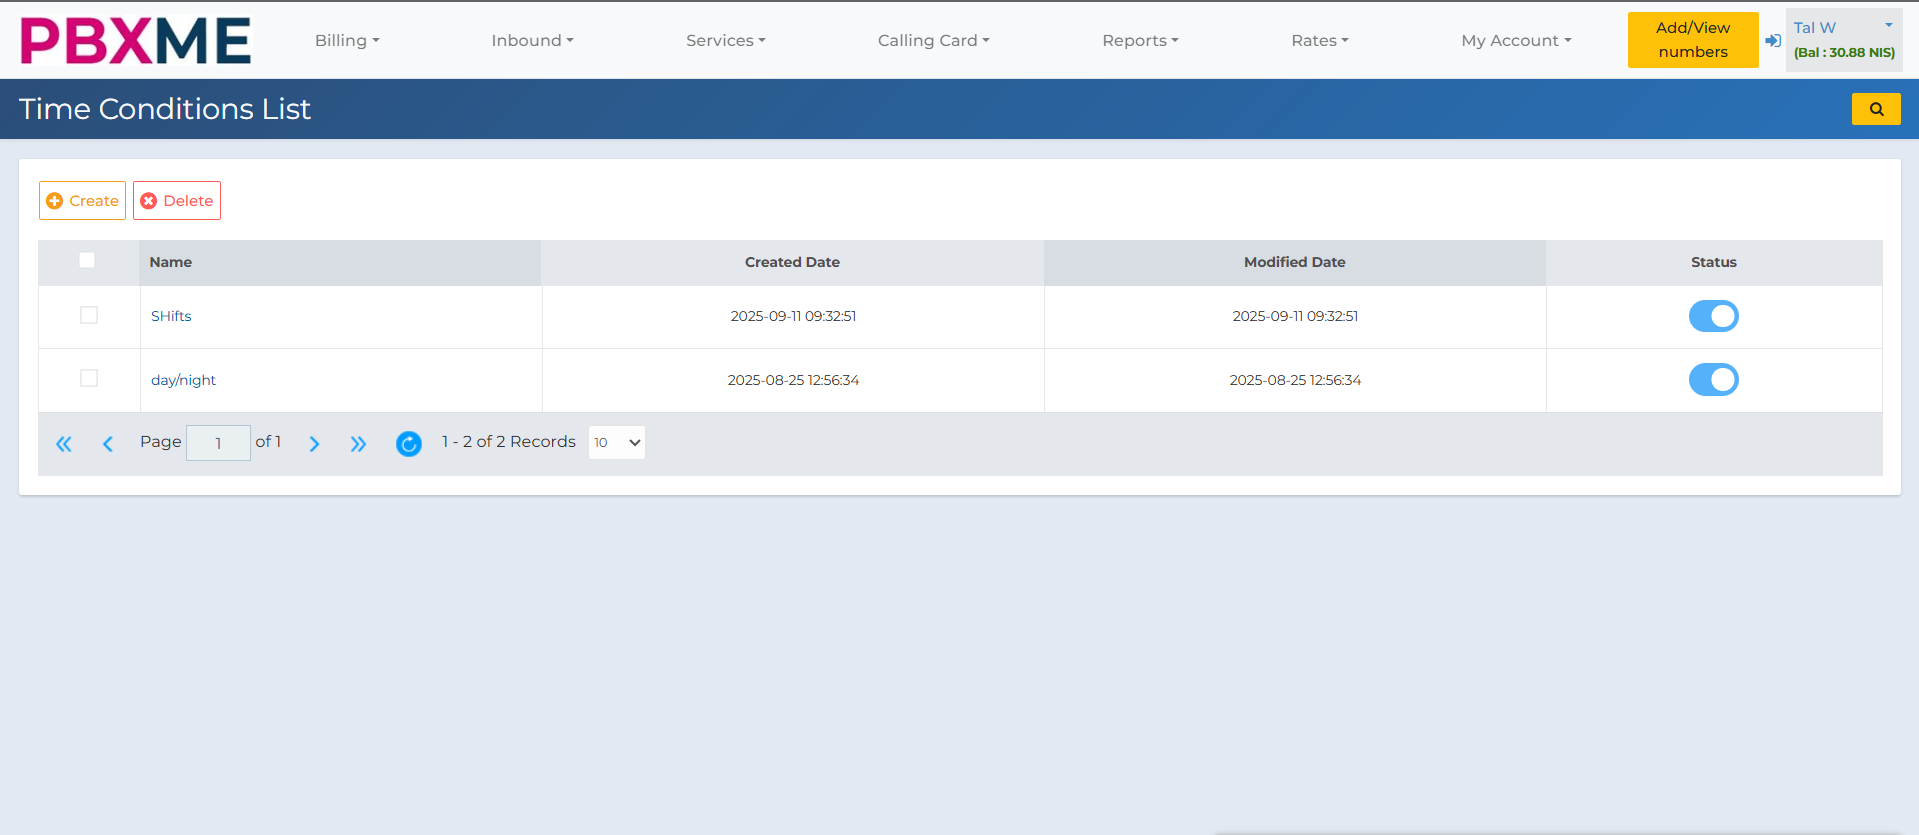
Step 2: Time Conditions ListHere you can see all existing Time Conditions, their creation date, and current status. |
 |
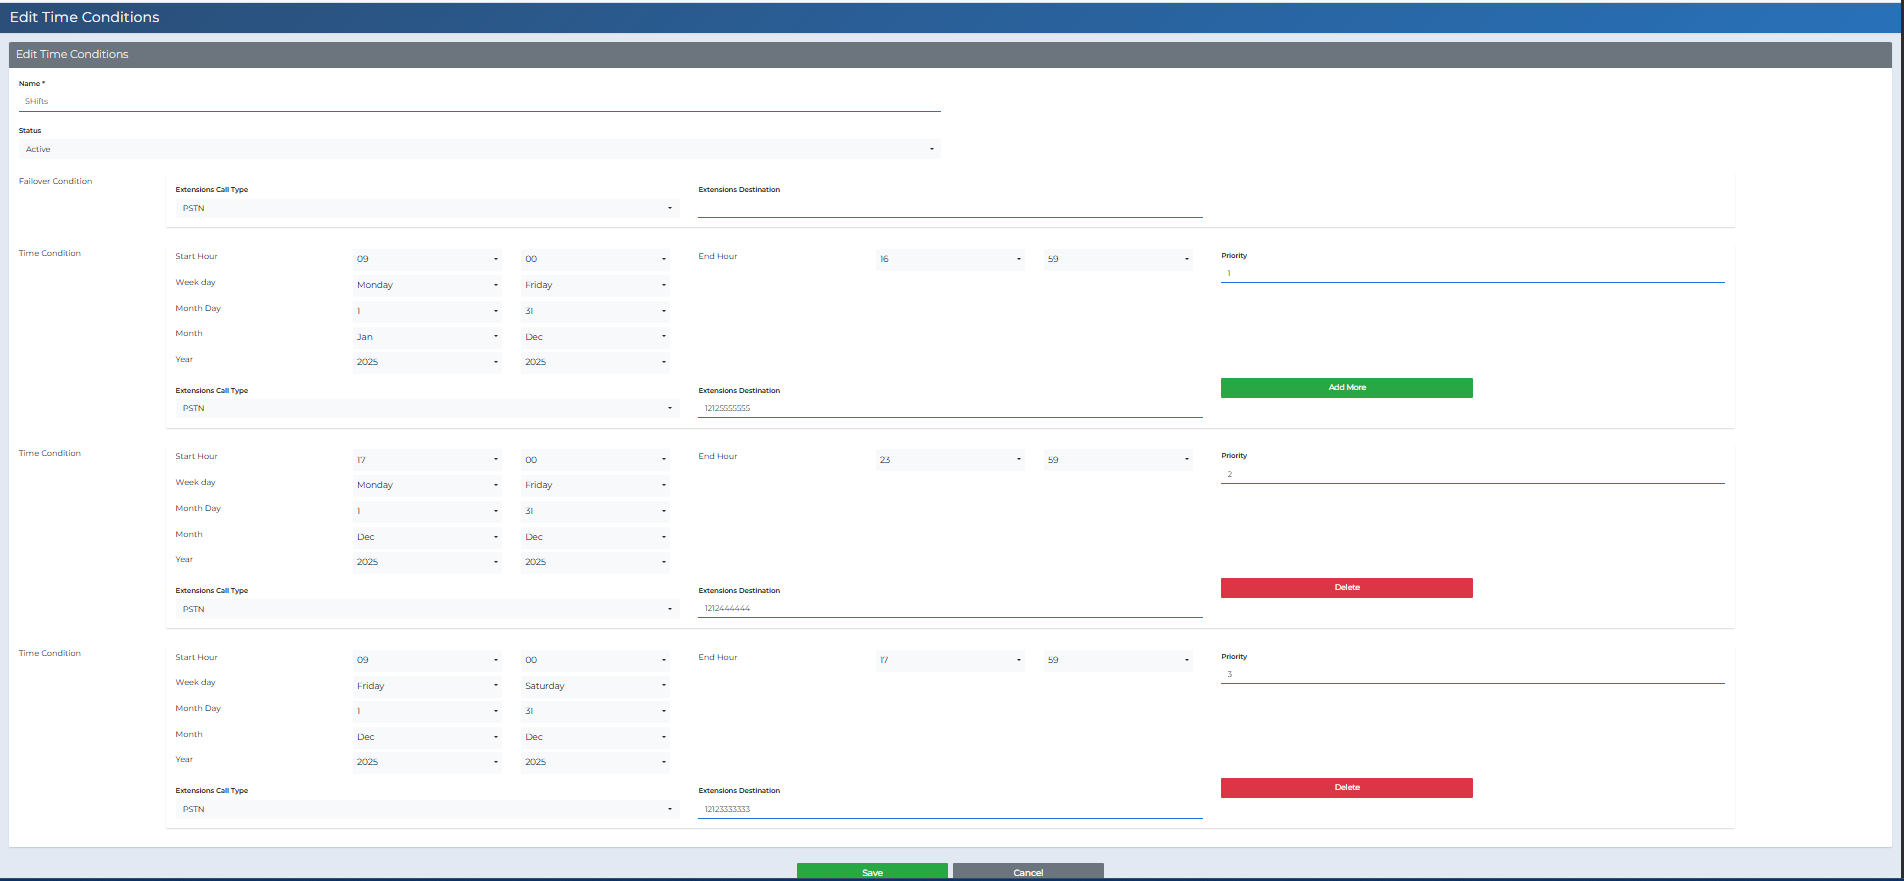
Step 3: Create a New Time ConditionClick Create to add a new Time Condition. Fill in the form fields: Name – The label of the Time Condition. Status – Whether the condition is currently Active or Inactive. Failover Condition – Where calls will go if none of the defined time rules are met. Start/End Hour – The time range when the rule applies. Week Day / Month Day / Month / Year – Define the schedule period. Priority – The order in which multiple conditions are checked (1 = highest). Extensions Call Type – The type of destination (e.g., Queue, IVR, PSTN). Extensions Destination – The specific destination chosen (which Queue, which IVR, or a number). |
 |
Step 4: Edit an Existing Time ConditionYou can add multiple rules with different priorities for shifts, weekends, and special cases. |
 |
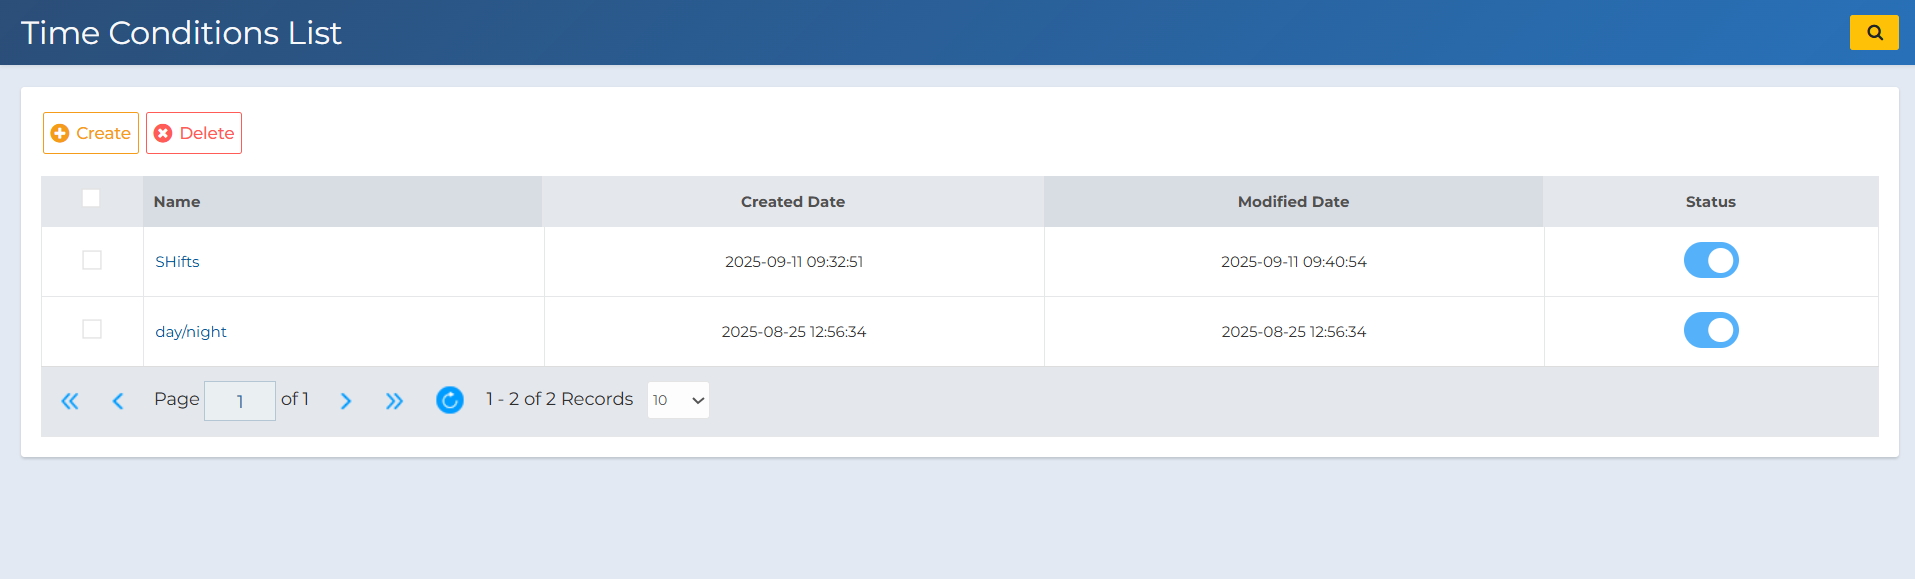
Step 5: Verify the Time ConditionThe Time Condition will now appear in the list with its details and status. |
 |
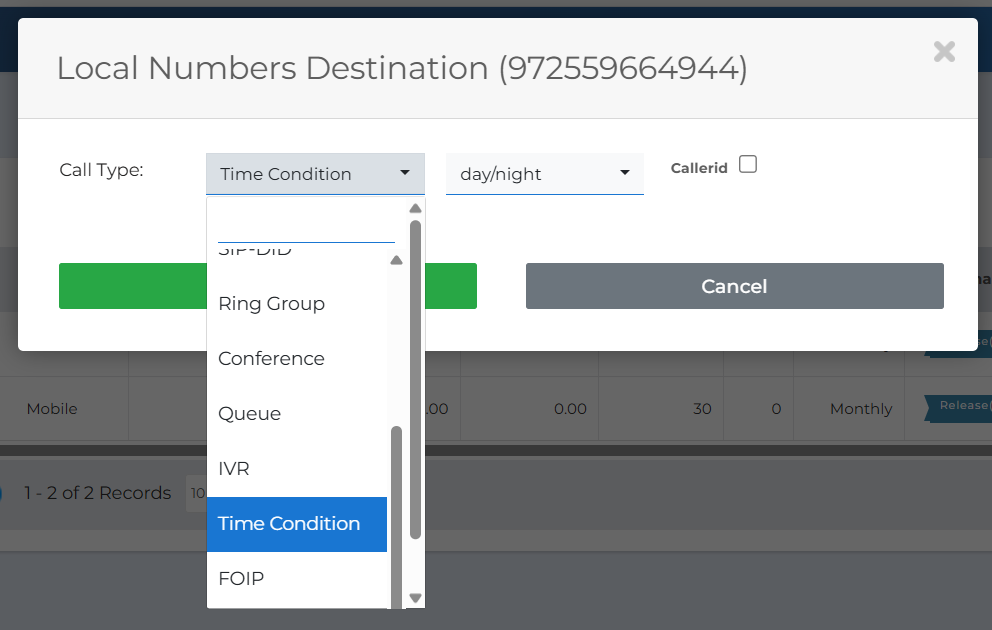
Step 6: Assign a DID to the Time ConditionGo to Inbound → Local Numbers, select your DID, and assign its Call Type to Time Condition. This ensures calls follow the defined schedule. |
 |
If you need help ordering a number or configuring your service, please contact support@pbxme.com or WhatsApp +972 55-966-4944. |