
Conference Room Setup and Management
How to create a conference room in the PBXme system and assign a local number to it.
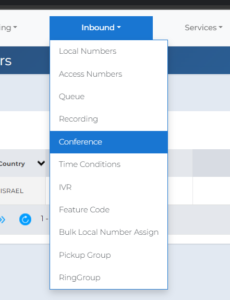
| 1 | Go to the Conferences page: in the top menu, click Inbound → Conference.
|
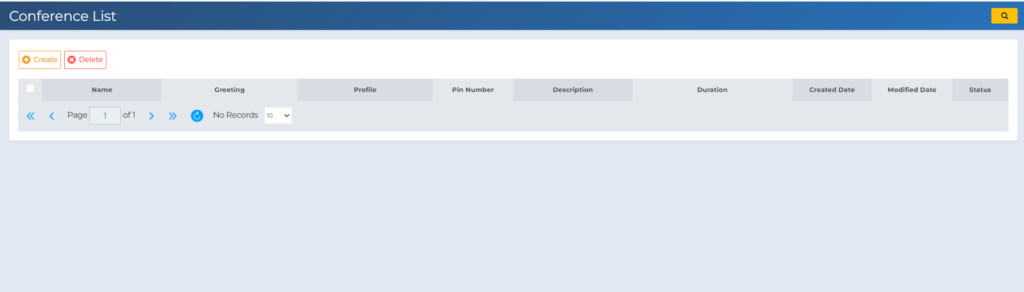
| 2 | Click Create to set up a new conference room.
|
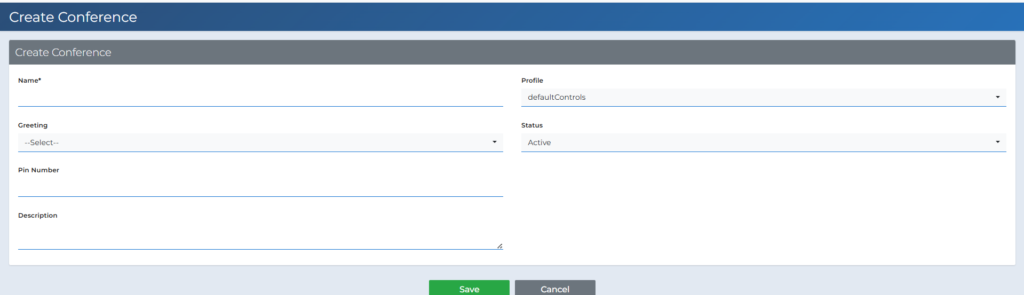
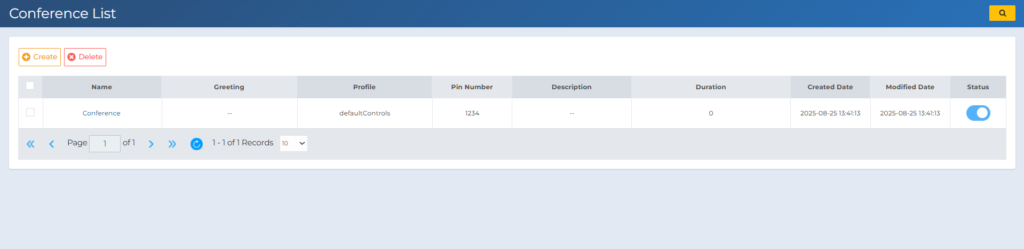
| 3 | Once you’ve filled in the details, click Save. The conference room will now appear in the list.
|
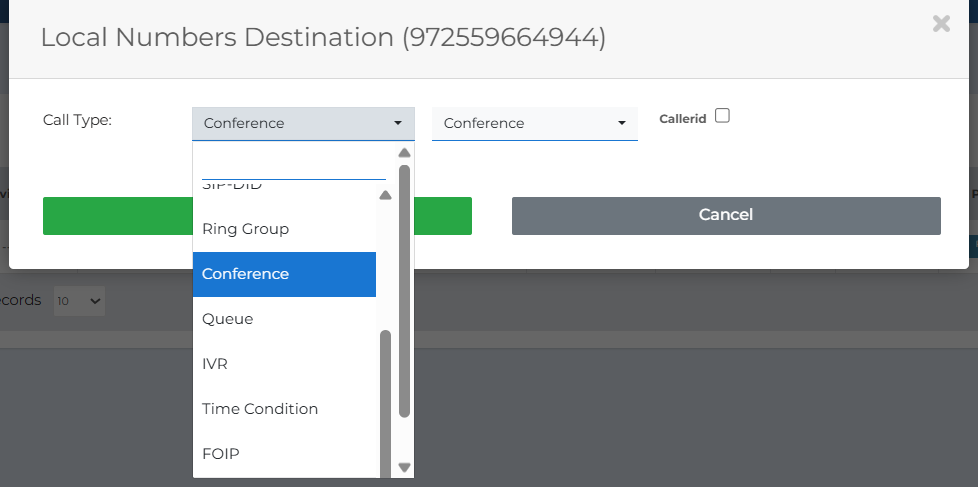
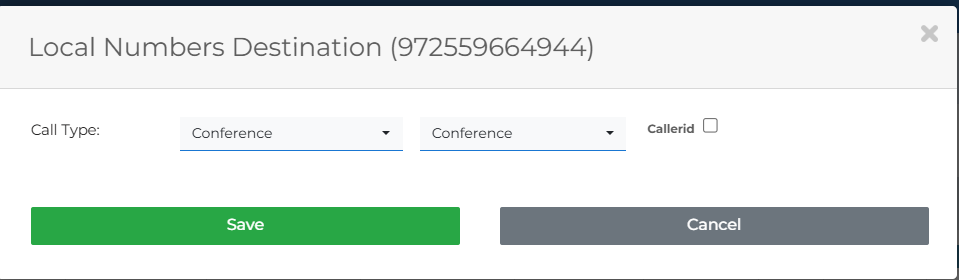
| 4 | In the top menu, click Add/View Numbers. In the numbers list, click the Call Forward icon next to the number you want to forward. In the Local Numbers Destination window, select Call Type = Conference, then select the conference room you created.
|
| 5 | Click Save. Your number is now forwarded to the conference room you selected.
|
For additional questions or further assistance, contact support at support@pbxme.com or WhatsApp +972 55-966-4944.