
Queue Setup and Management
How to create a queue in the PBXme system and assign a local number to it.
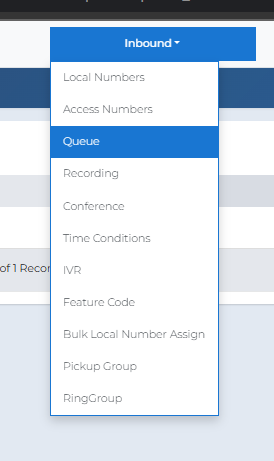
| 1 | Go to the Queues page: in the top menu, select Inbound → Queue.
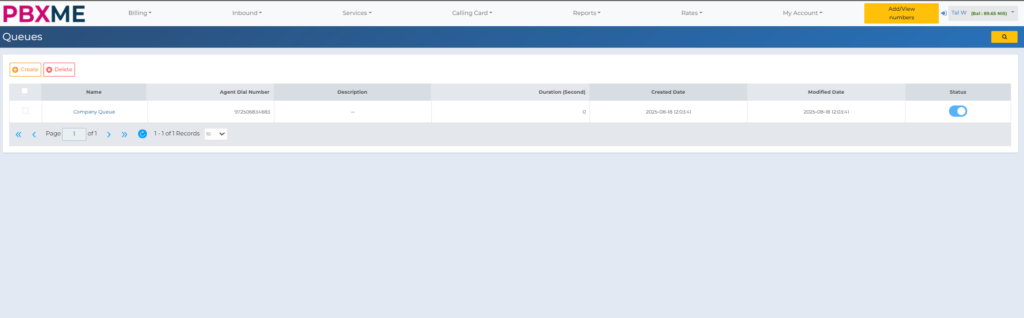
The screen that opens displays the Queues page.
|
| 2 | Click Create. Enter a Queue Name and Agent Dial Number — you can also add a Description and set a Back-Tone if you want. To upload a recording, go to Inbound → Recordings. See the Voicemail Setup Guide for detailed upload instructions.
|

| 3 | Once you’ve filled in all the details, click Save. The new queue will now appear in the Queues list.
|
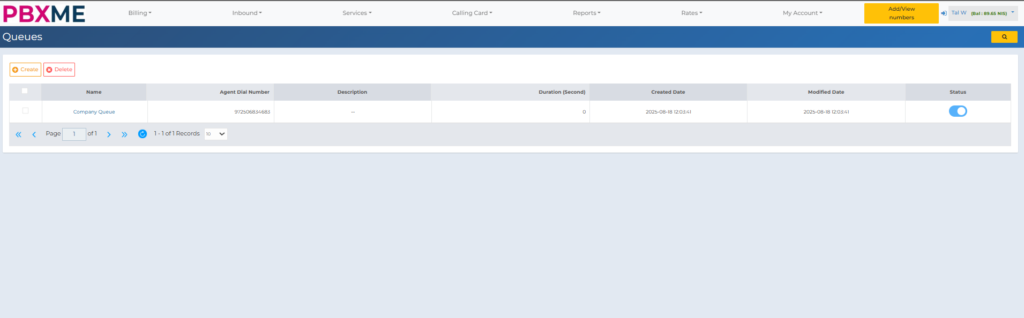
| 4 | Go to your list of numbers: in the top menu, click Add/View Numbers to display your Local Numbers list.
|
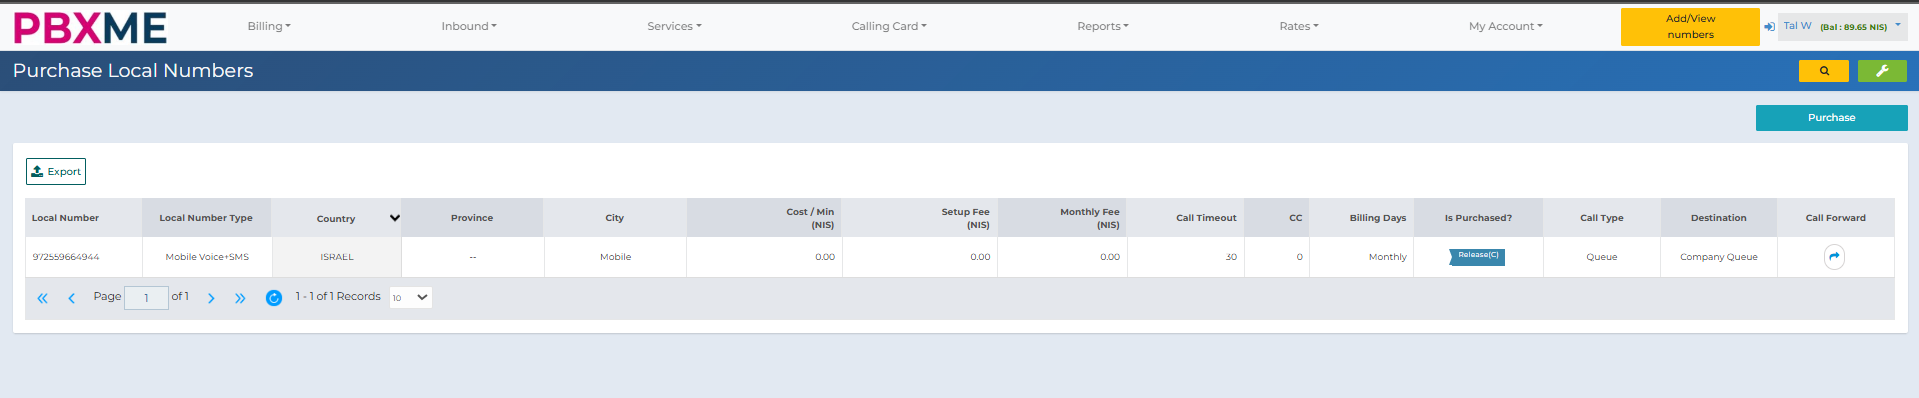
| 5 | Next to the number you want to forward, click the Call Forward icon. In the Local Numbers Destination settings window, select Call Type → Queue, then select the queue you created.
|
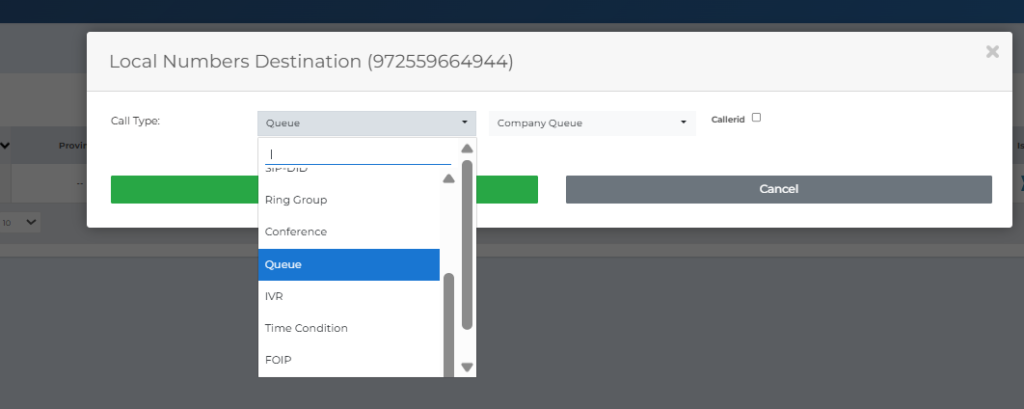
| 6 | Click Save. Your number is now redirected to the selected queue, and you’ll see it reflected in the numbers list.
|
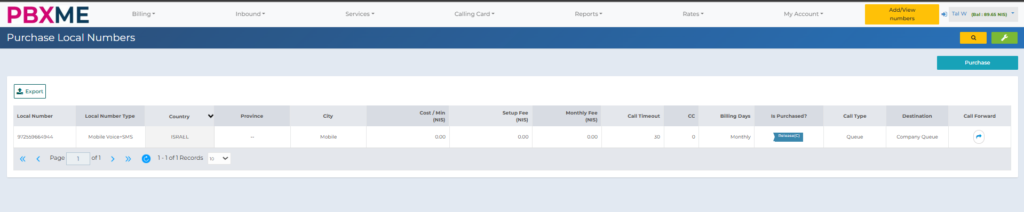
You’ve finished creating a new queue and assigning a local number to it in the PBXme system.
If you’d like further assistance, contact the support team at support@pbxme.com or WhatsApp +972 55-966-4944.